| Disassembly steps |
|||
| 1. |
Snap
ring |
||
| 2. |
Overdrive planetary
carrier |
||
>>D<< |
3. |
Thrust
bearing #5 |
|
| 4. |
Underdrive sun gear |
||
| >>C<< |
5. |
Thrust
bearing #6 |
|
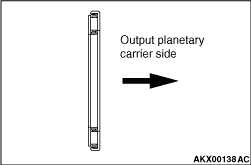
| 6. |
Output
planetary carrier |
||
| >>B<< |
7. |
Stopper
plate |
|
| >>A<< |
8. |
One-way
clutch |
|
| 9. |
Snap
ring |
||
| 10. |
Low/reverse annulus
gear |